A complete guide to outdoor climbing skin maintenance
Whether you’re transitioning from the comfort of climbing gym plastic to the unforgiving sharpness of granite, sandstone, or limestone, one truth becomes clear fast: real rock wrecks your skin. Outdoor skin maintenance is an entirely different game, and if you don’t manage your skin well, it can end your session early or force you to rest for days.
That’s why skin maintenance isn’t just for the elite; it’s essential for anyone who wants to climb consistently outside. From prepping your skin before the session to recovering properly after, this guide will walk you through everything you need to know to make your skin last longer, recover faster, and stay rock-ready.
Why Outdoor Skin Maintenance Matters
The Problem: Gym Skin vs Crag Skin
Indoor plastic is soft and uniform. The holds are textured, but they’re manufactured to be relatively consistent. You probably haven’t noticed just how gentle gym climbing is on your skin until you make the switch to real rock.
Outside, your hands are up against:
- Rougher texture: sharp crimps, gritty slopers, abrasive cracks
- Longer sessions: less rest, more climbing, and fewer distractions
- Environmental stress: dry air, wind, sun, dirt, and moisture
Even a short session on outdoor rock can leave your tips raw, your calluses torn, and your hands in no shape to climb again tomorrow.
Pre-Climb: Skin Prep That Actually Works
Climbers who prioritize skin maintenance before they climb are the ones who get to climb more days in a row. Here’s how to do it right:
The Week Before
- Check your baseline: Is your skin too dry? Too soft?
- Balance moisture: Apply climbing salve or balm if your skin is cracking, but avoid over-moisturizing. If your skin is too soft, consider using drying agents like Antihydral, but be cautious not to overuse them.
- What is Antihydral? Antihydral is a topical cream originally intended for excessive sweating (hyperhidrosis), but it’s become popular among climbers for its powerful skin-drying effect. Apply a tiny amount to your fingertips once or twice a week and leave it on overnight. Overuse can lead to cracked, glassy skin, so experiment carefully and stop if you feel any burning, peeling, or irritation. Don’t use it if your skin is already thin, split, or healing. It’s for prevention, not recovery.
- Don’t pick or tear calluses: Instead, keep them filed and smooth.
The Morning Of
- Wash your hands: Start with a clean surface, free of lotion or oils.
- Trim nails: Long nails can dig into holds and snag.
- File calluses: Overly thick or ridged calluses are prone to tearing. Keep them low-profile and smooth by gently filing with 80 or 100 grit sandpaper. Your local gym likely sells sanding blocks meant for climbing, but you can also buy packs of sandpaper or foam sanding blocks for just a few bucks at any hardware store.
- Check your texture: Skin should feel dry and grippy, not slick or glassy.

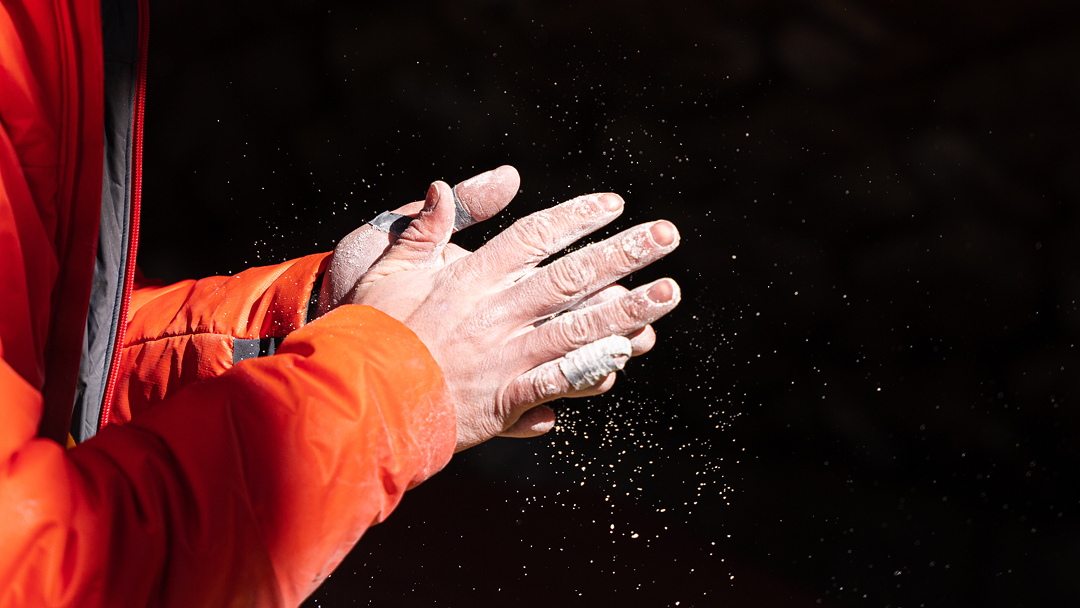
Mid-Session: Managing Your Skin While You Climb
Good skin maintenance continues throughout your session. Think of it like pacing: smart climbers last longer, and skin is part of the strategy.
Know What to Watch For
- Shiny tips: A sign your skin is thinning fast
- Edges peeling or lifting: You’re at risk of a flapper
- Glass-like feel: Your skin might be too dry
- Pink or red tips: You’re getting close to bleeding or tearing
Mid-Session Tools
Keep a skin kit accessible in your chalk bag or pack at all times. Essentials include:
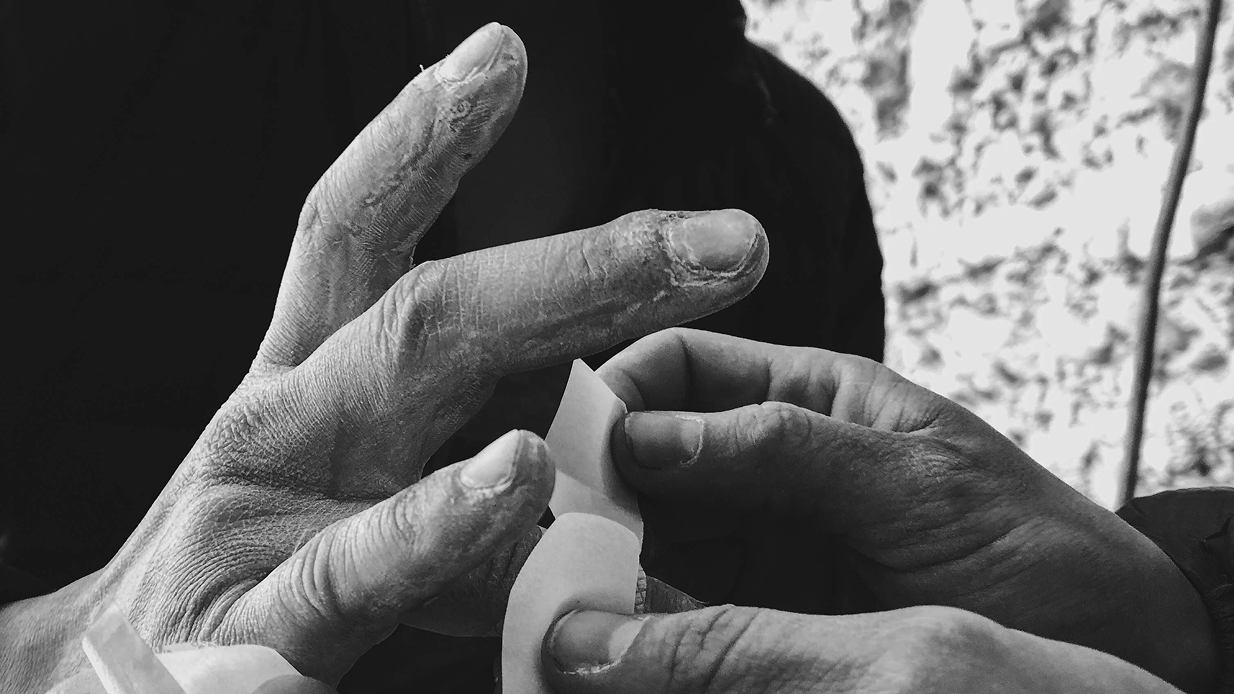
- Tape: Reinforce weak tips or pad flappers
- Sandpaper or Razorblades: With extreme caution, you can use a razor blade to cut off thicker excess skin and jagged edges. Smooth the rest with your sandpaper.
- Super glue: Glue down the edges of your tape for extra durability. Some climbers superglue flappers and splits back together, but proceed with caution because it can slow down healing and is very painful to remove (not to mention the harsh chemicals in an open wound!).
When to Stop
The single best way to protect your skin is to know when to call it. That final send attempt might cost you the next three days, so play the long game and be patient. Your skin will become more durable and thicker the more you abuse it outside.
The Skin Kit: What Every Outdoor Climber Should Pack
There’s no perfect kit that fits every climber, but here’s a list that covers most situations:
- 80-100 Grit Sandpaper or skin file
- Nail clippers
- Antiseptic wipes or spray
- Climbing balm: Heal skin post-session
- Tape (thin & thick)
- Super glue
Pro Tip: Store it all in a small zippered pouch and toss it in your climbing pack.
Post-Climb: How to Recover Like a Pro
The work doesn’t end when you pack up your crash pad. What you do after a session is just as important for keeping your skin healthy and durable.
Immediate Recovery
- Clean your hands: Rinse off chalk, dirt, and blood as soon as possible
- Apply salve (lightly): Apply a healing climbing salve before you go to bed, especially if your skin feels dry or raw.
- Let it breathe: No gloves, no thick greasy layers, your skin needs oxygen to heal
- For dry skin: Keep filing your calluses to avoid catching or tearing
Concistency Wins
Outdoor climbing pushes your body, your mind, and your skin. If you’re looking to make the most of every trip, building a skin care routine is just as important as planning your warmup or packing the right gear. Start thinking of your skin as something to train, maintain, and protect, and you’ll be able to climb harder, stay out longer, and recover quicker.
Small, consistent steps, like prepping the night before, monitoring mid-session, and using a dedicated skin kit, can mean the difference between sending and forced rest. Be intentional with your care, and your hands will thank you.